Guide
How to annotate a screenshot clearly
To annotate a screenshot, open it in an editor, point an arrow at the detail that matters, and add a short label explaining it. Keep enough surrounding context for the reader to understand the image. Captorify offers arrows and text in its paid editor for synced captures; its free web tools do not include general annotation.
Decide what the screenshot should explain
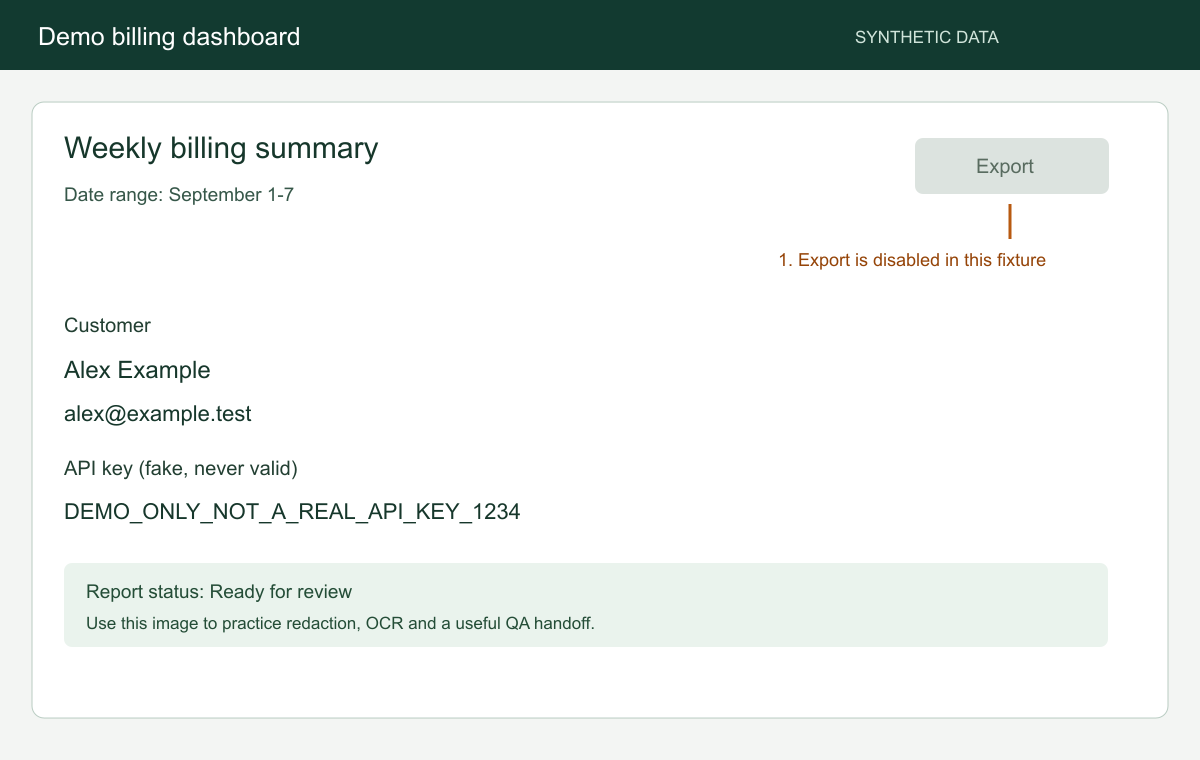
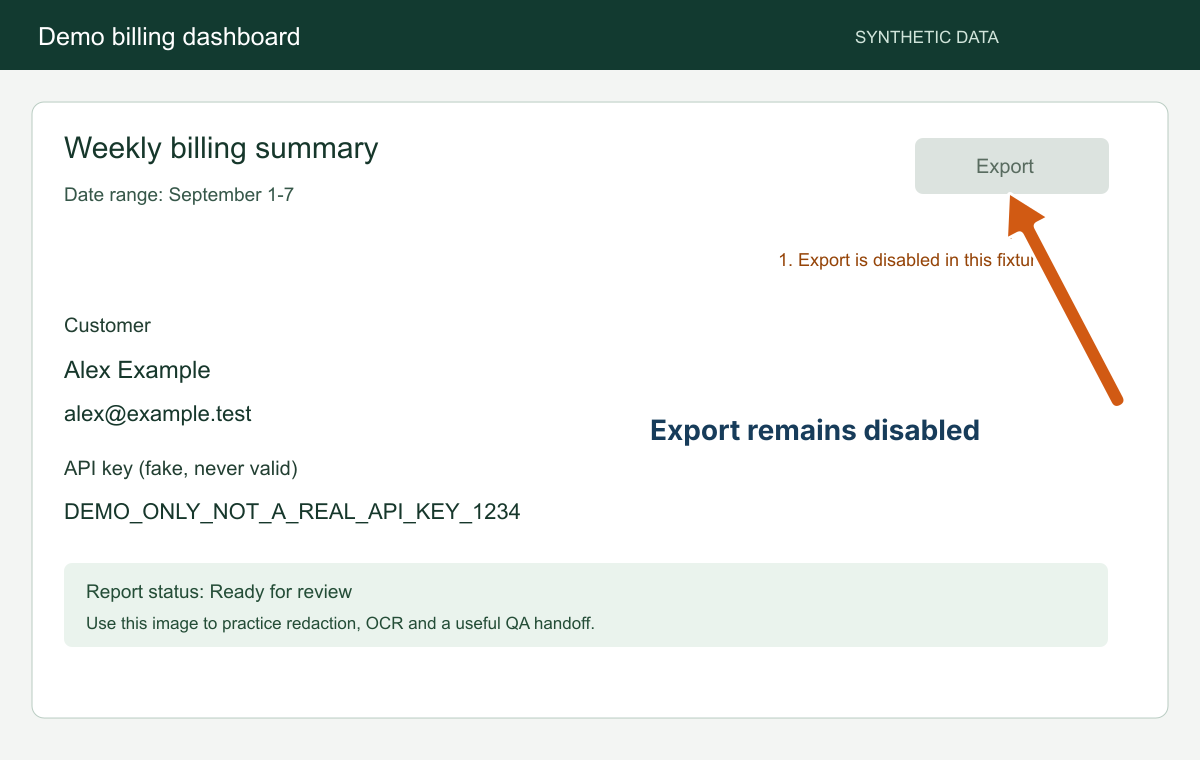
Write the message in one sentence before adding marks. For example: the Export button remains disabled after all required fields are filled. That gives the annotation a purpose.
In the sample below, the label “Export remains disabled” identifies the problem, and an arrow points to the Export control.
Choose an editor that fits the source
An image already on your computer can be marked in an operating-system image editor. On macOS, Preview provides markup controls. Check Microsoft's current Snipping Tool instructions for the tools available on your Windows version.
Captorify's paid cloud editor works with synced captures. If the image must stay off cloud storage, choose a local editing method instead. The free Captorify redactor removes private regions but is not a general arrow-and-text editor.
Add an arrow and a short label
Draw an arrow pointing to the control or message you want the reader to notice. Keep the arrowhead clear of text, then add a short label explaining the issue. Use a rectangle when you need to mark a larger area.
Avoid filling the image with competing colors and marks. For a sequence, use one image per meaningful step and explain the sequence in the accompanying report. An annotation's color should remain visible against both the UI and the background.
Separate annotation from redaction
An arrow, highlighter or translucent shape does not remove sensitive content. Redact private values with an opaque method and inspect the flattened saved file.
Do not distribute an editable project file as if its overlays permanently removed the underlying image. For a screenshot handoff, inspect the ordinary image or PDF the recipient will actually receive.
Export and check the annotated screenshot
Open the exported file outside the editor. Read it at the size the recipient will see. Check that the mark points to the right element and the explanatory text remains legible.
Include reproduction steps, expected behavior, actual behavior and environment details in the report. The image supports that explanation; it rarely replaces it.
FAQ
Common questions.
Short answers about capture, privacy, sharing, and billing.